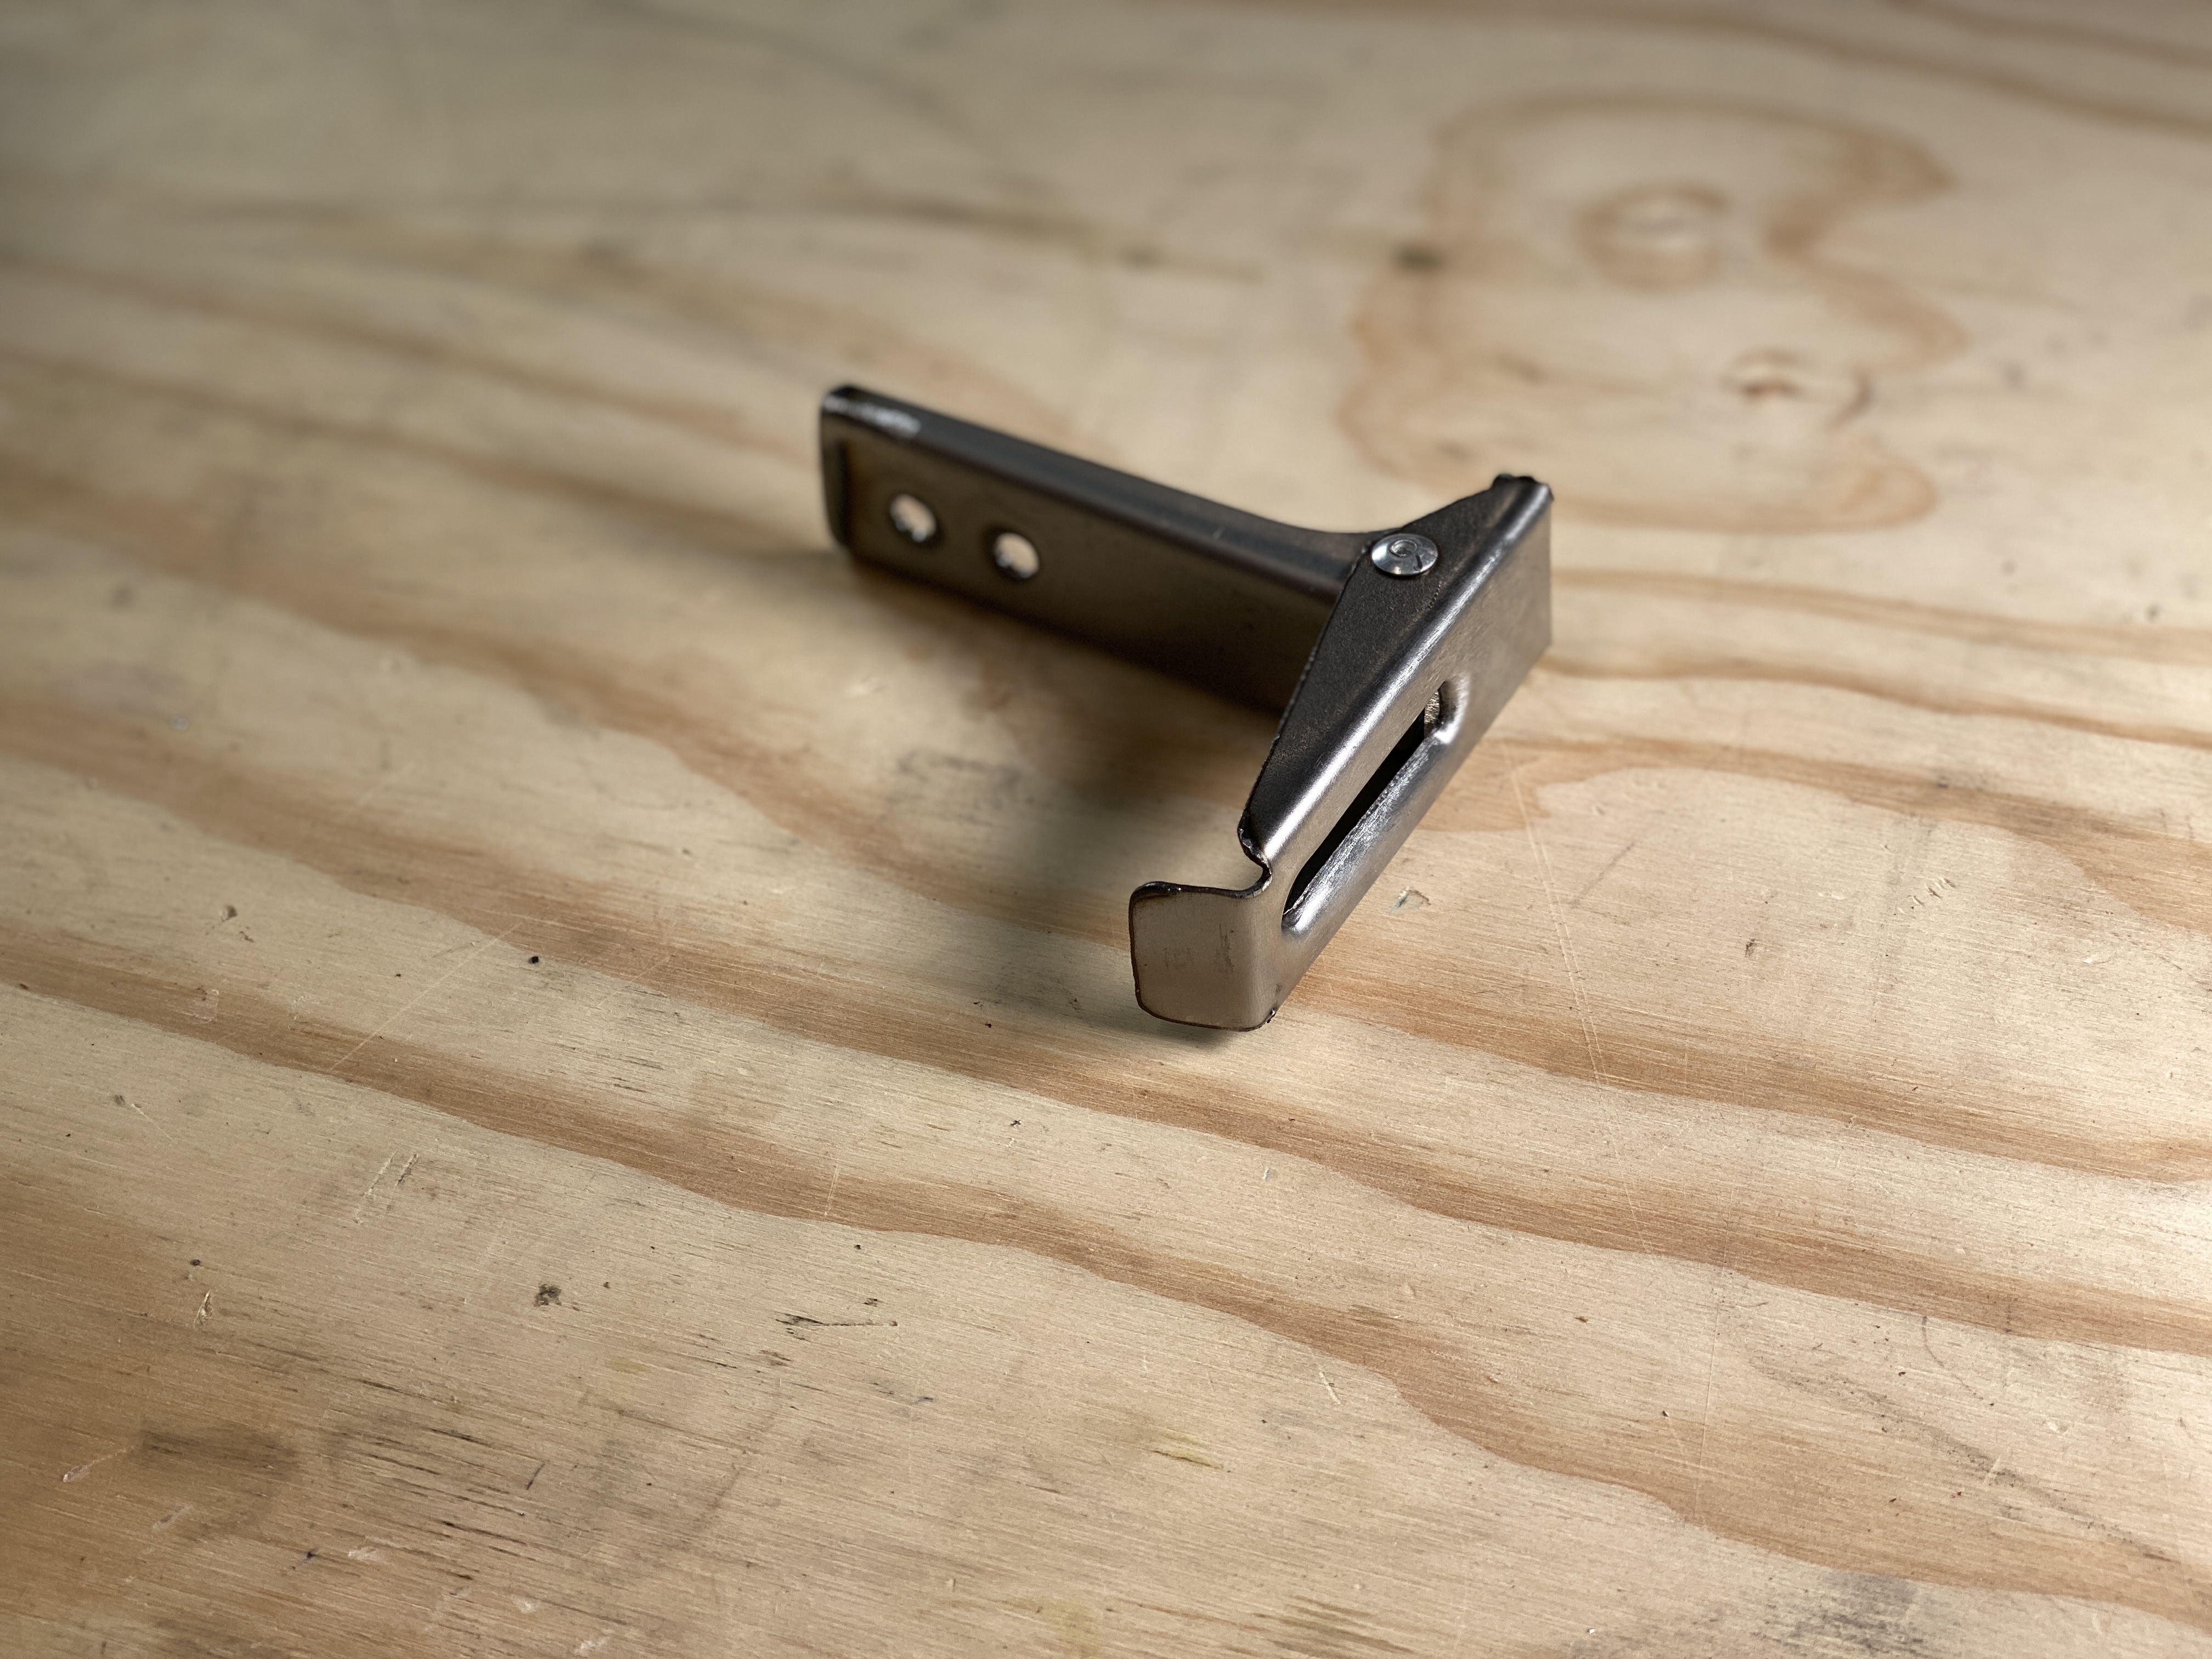
I've never seen anyone form sheet metal using 3D printed tooling so I thought I would give it a try. It worked surprisingly well. I've detailed the process I took to design and get the forming (mostly) working in the video. The end goal of this project was a replacement blade guard for a sawzall. I took this approach as an experiment though in general since I don't need 100 of these it certainly isn't the most efficient approach given the total amount of work and low cost of the sawzall. That said if you do need 100+ of something this technique could be amazingly cheap and efficient.
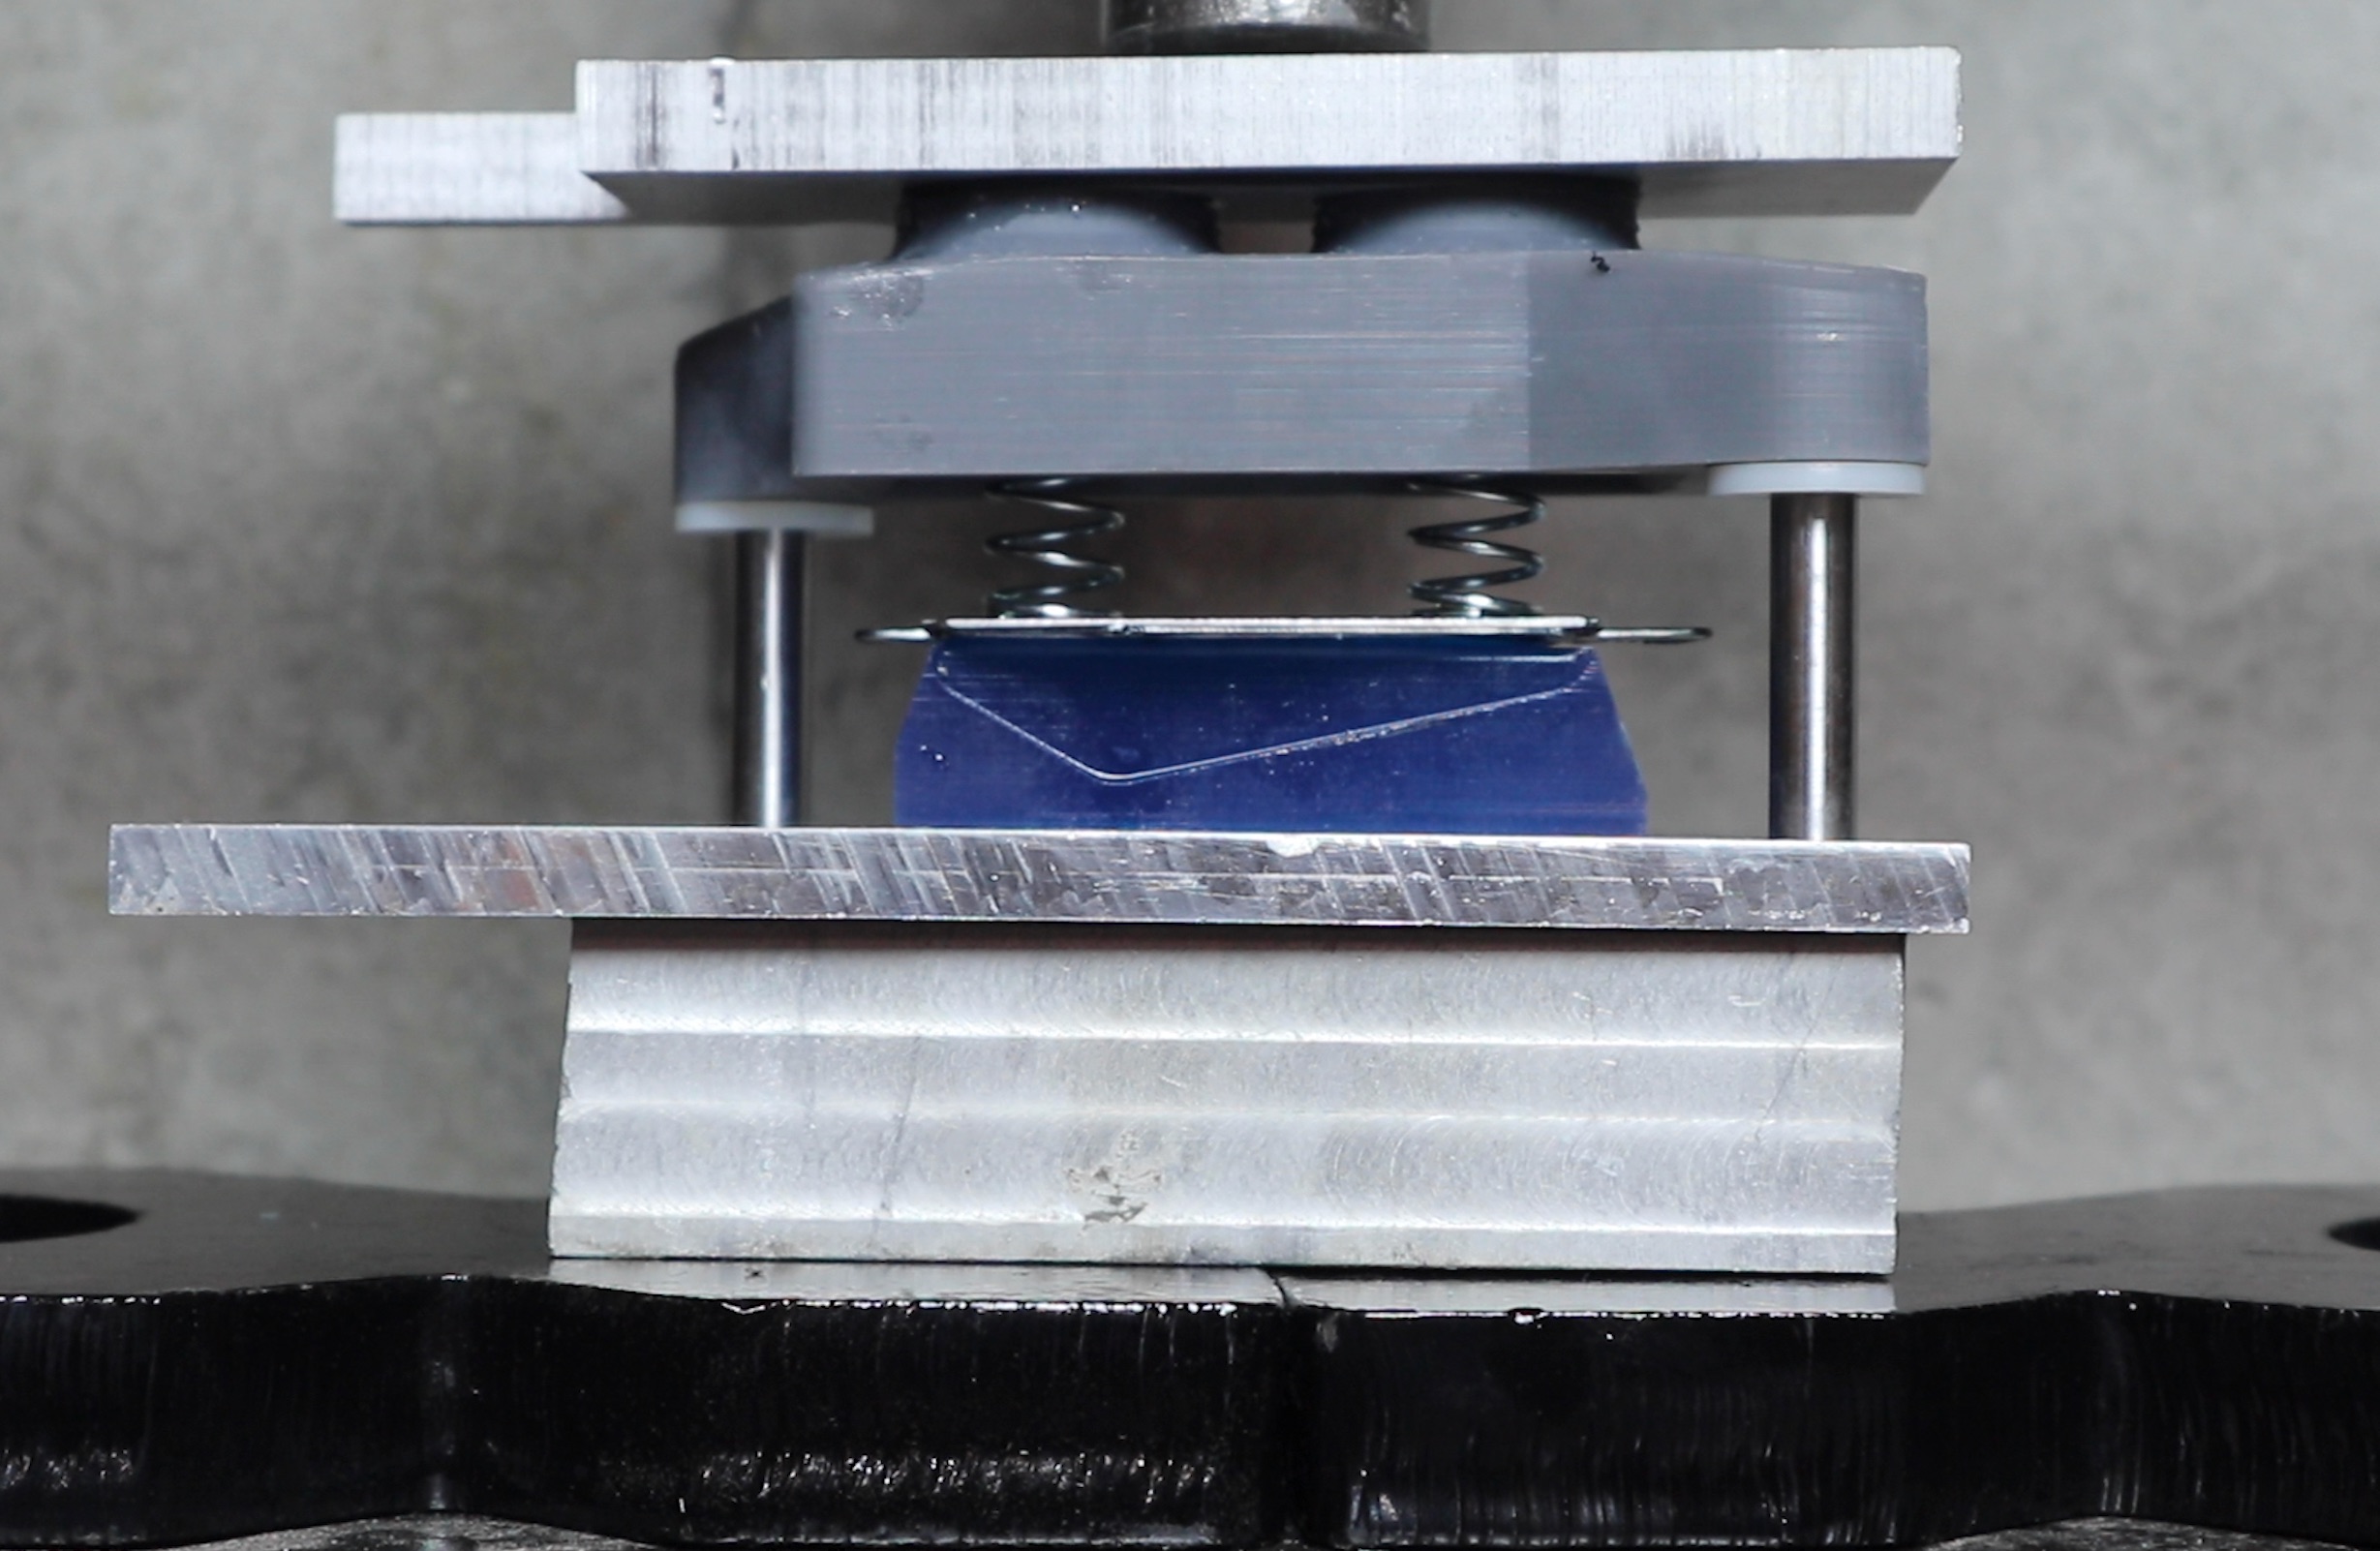
The general process is pretty simple with most of the complexity being in the CAD package to get the geometry of the forming tools made properly. The overall setup for this part was a lower die which the sheet metal is forced around with a matching upper die.
I ended up breaking the process into two steps. I first formed the bends around the perimeter of the part with one tool, then I have an insert into the top half of the tool which forms the radius inside the slot of the part. In a way its sort of a poor mans progressive die stamping setup.
In order for the two halves of the form to line up I had to build a platform with linear guides. The bottom half of the form sits in a locating pocket and the top has bushing inserts which ride on the rods.

The perimeter bends were difficult to make with acceptable quality since they are very close to a large hole which leads to distortion. I ended up making a new top die which clamps the top of the part with stiff springs before the bending operations starts. This gave significantly better results.
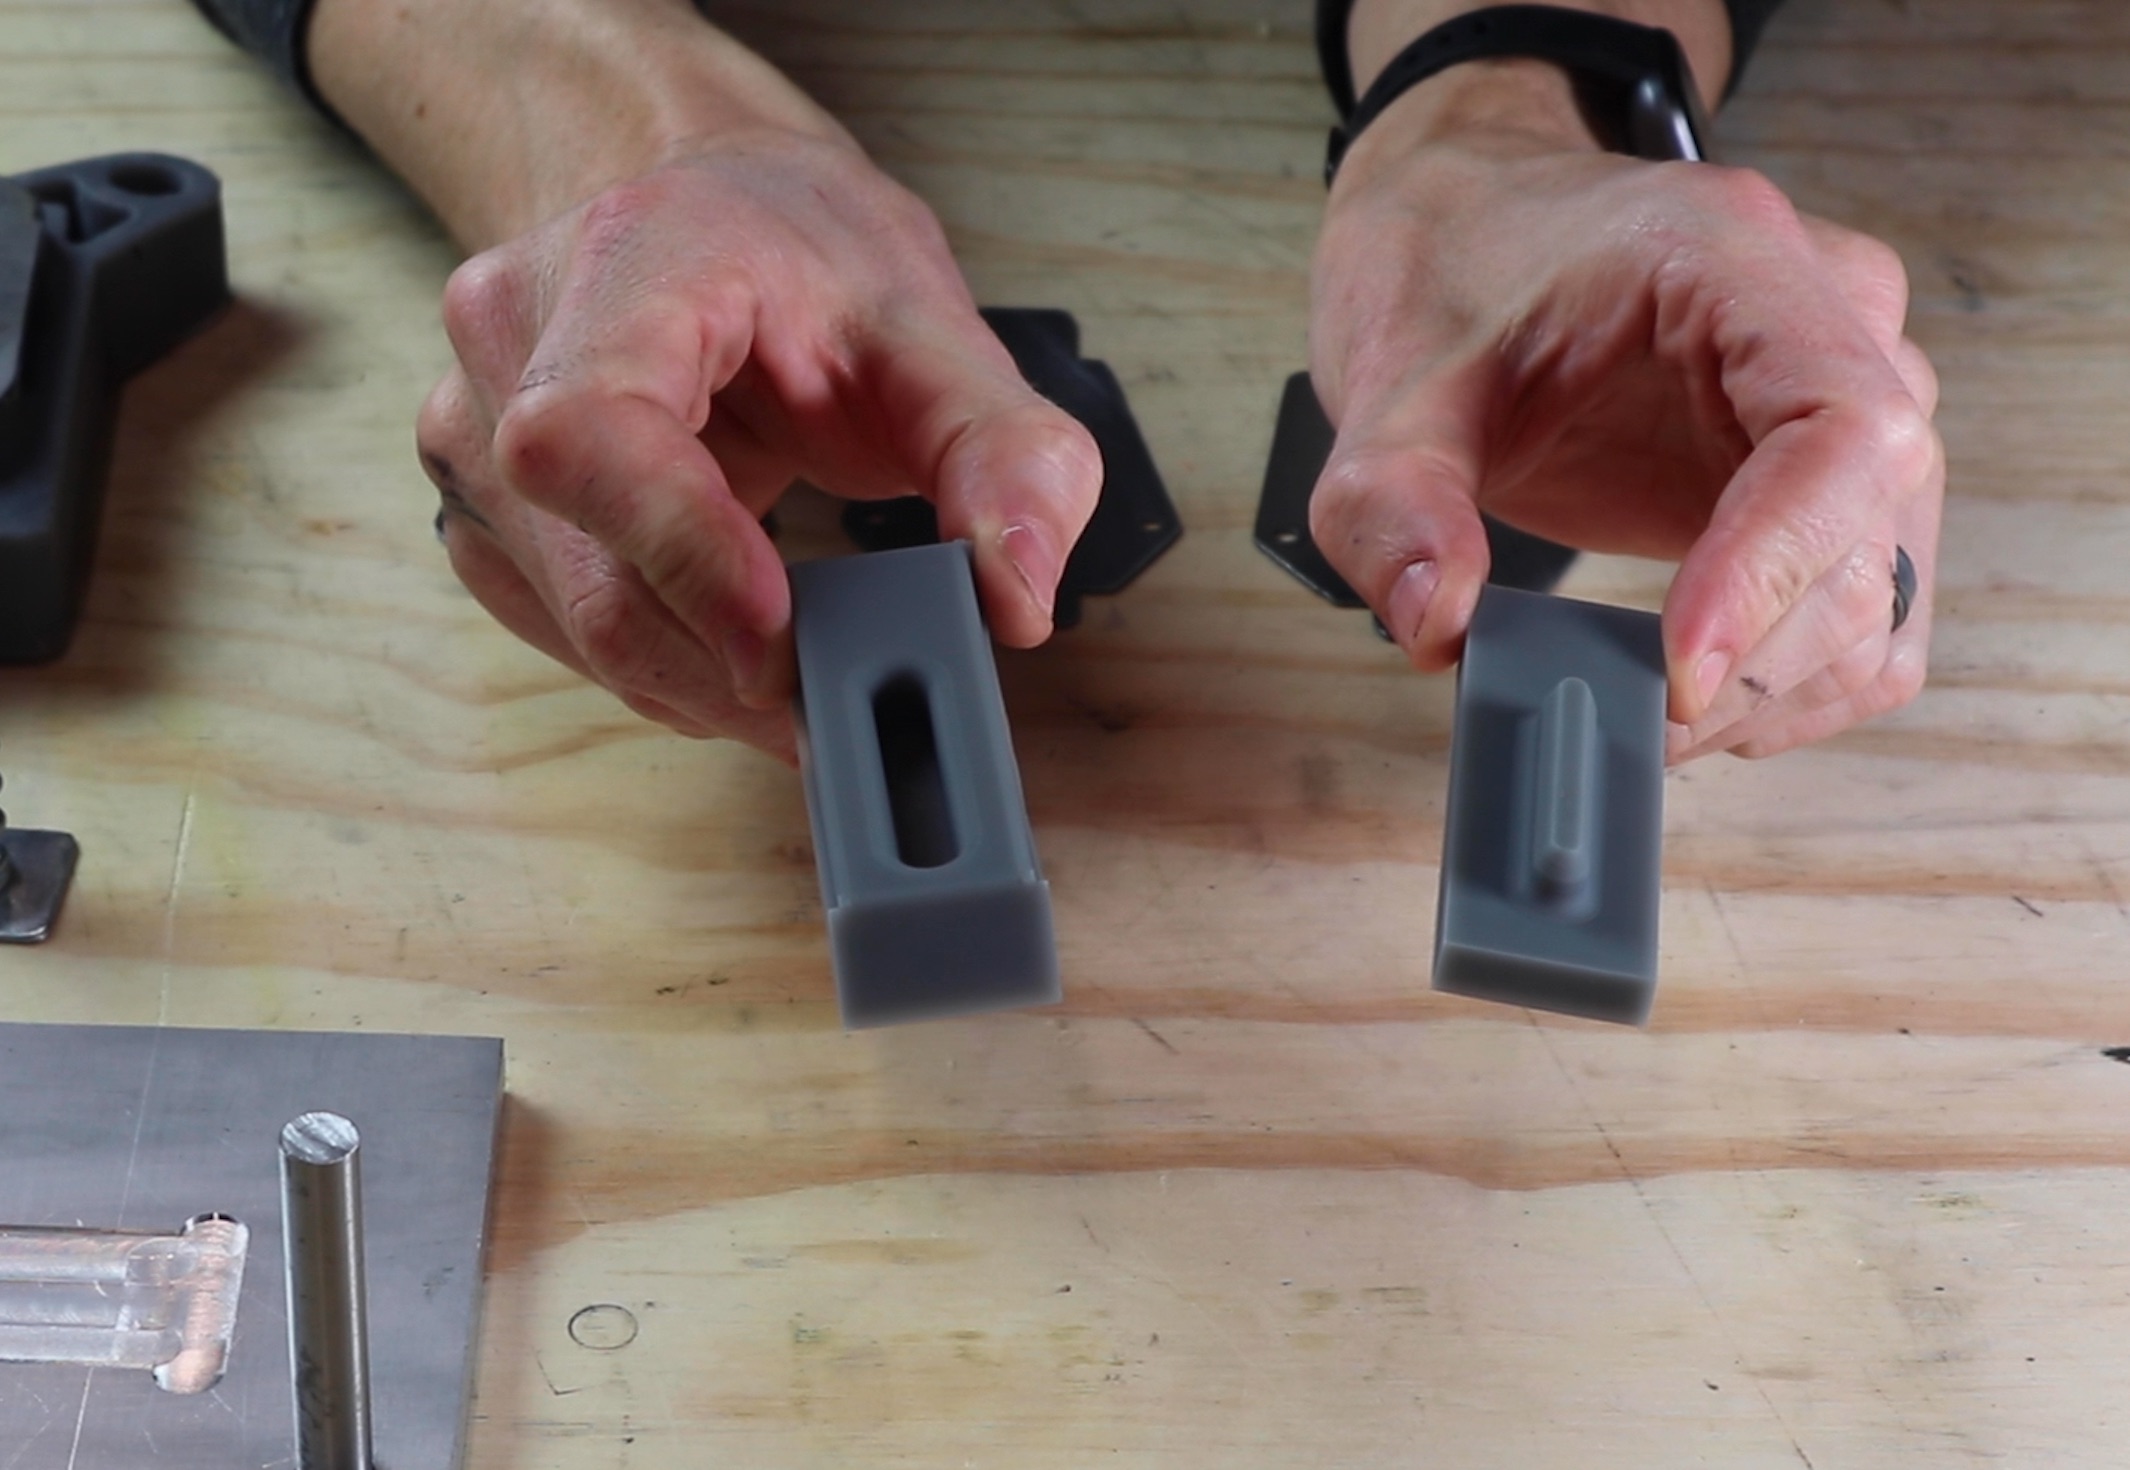
The forming dies for the radius around the slot took several tries to get working. My initial design formed a small radious but didnt correctly widen it or get a sufficiently tall radius. I then machined a test form which almost worked though it split the lower die. My third attempt worked even better but still split the lower die at the very end of the operation.
Given how close this setup was to working without damaging the tool I'm confident I can design a setup that works without splitting. I suspect the key is either doing the operation in two passes instead of one very agressive forming step which would result in lower stresses or simply using a stronger resin.
The parts were printed out of tough (tensile strength 55MPa) & grey pro (tensile strenght 33MPa) resin which is not ideal but the only material that I had available. They we're also not post cured which means reduced mechanical properties. This specific design may have worked had I used rigid resin (tensile strength of 75MPa). I plan to try that next.
The final result is pretty good and very close to the original one.